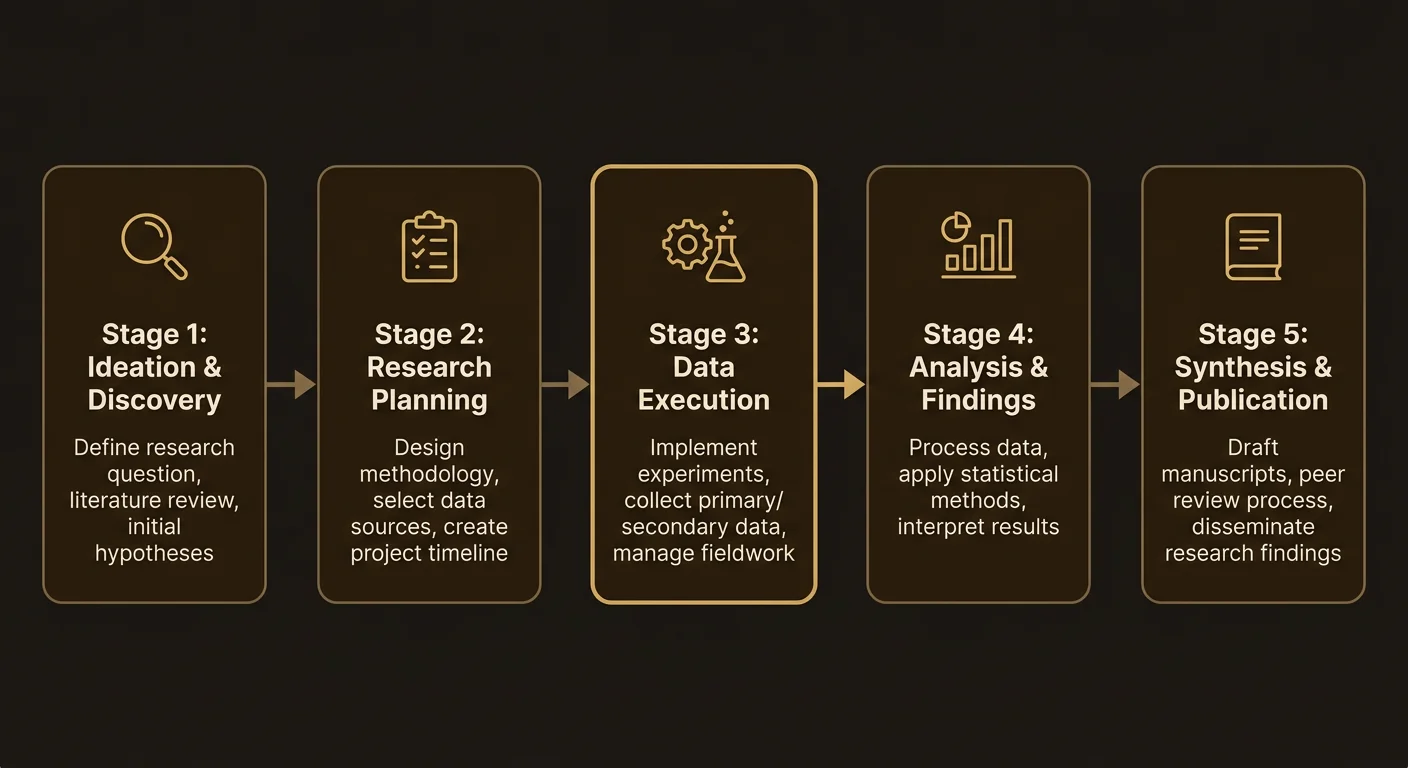
Your First Research Project
Walk through creating a research project — from prompt to finished report.


The best way to understand LumaVista is to use it. This walkthrough takes you through creating a research project from start to finish — writing your prompt, watching agents work, and reading the final report. By the end, you will have a completed project and a clear picture of how the platform works.
Step 1: Start a new project
From the dashboard, click the New Project button at the top of your project list. You will see a dialog with two options for getting started:
- Direct input — Type or paste your research question directly into the goal field. This works well if you already know exactly what you want to investigate.
- Guided prompt builder — A short conversation that helps you refine your question. The builder asks clarifying questions, suggests structure, and produces a well-formed prompt. We recommend this for your first project.
For this walkthrough, let’s use the guided prompt builder.
Step 2: The guided prompt builder
When you open the prompt builder, you will choose a template that matches the kind of research you are doing:
- Academic — Literature reviews, theoretical analysis, methodology comparisons
- Business — Market research, competitive analysis, strategic assessments
- Technical — Architecture evaluations, implementation approaches, performance analysis
- Creative — Theme research, narrative analysis, audience studies
- General — Any topic that does not fit neatly into the above categories
Select a template, and the chat area shows a contextual prompt — something like “What research topic are you exploring?” for academic, or “What business question do you need answered?” for business.
Type your initial thoughts. You do not need a polished question — just describe what you are curious about. The builder takes it from there.
Clarifying questions
After your first message, the prompt builder asks targeted follow-up questions to understand what you actually need. These come in three forms:
- Free text — Open-ended questions where you type your answer.
- Single choice — Tap one option from a set of chips. Used when options are mutually exclusive, like choosing a target audience.
- Multi-select — Toggle multiple options. Used when several things might apply, like selecting which aspects of a topic matter most to you.
The builder typically asks two to four rounds of questions. It is looking for things like: What is your audience? What do you already know about this topic? Are there specific angles you care about? What should the research skip?
The structured prompt
Once the builder has enough context, it generates a structured prompt suggestion. This appears as a card showing:
- The full prompt — Your research question, refined and structured with section headings.
- Sections — The report structure the agents will follow. For a business template, you might see sections like “Market Landscape,” “Competitive Analysis,” and “Risk Assessment.”
- Exclusions — Topics the builder suggests skipping, based on what you indicated you already know. You can remove any exclusion if you want the agents to cover it after all.
- Profile and limits — The recommended research profile and graph settings.
Review the suggestion. If something is off, keep chatting — the builder re-generates the suggestion with each new message you send. When it looks right, click Accept & Create to launch the project.
Step 3: Watch the agents work
Once you create the project, the research graph view opens. This is where you can see your research happening in real time.
What you will see
The graph starts with a single planner node at the top. The planner reads your prompt and breaks it down into subtasks — one for each major area of investigation. Within seconds, you will see new nodes branch out from the planner:
- Search nodes — These agents go out and gather information from web sources. Each search node targets a specific aspect of your question.
- Reasoning nodes — These agents analyze what the search nodes found. They compare sources, identify patterns, and draw conclusions.
- Aggregator nodes — These pull together findings from multiple search and reasoning nodes into coherent sections.
- Report writer — The final node that assembles everything into your finished report.
Nodes change color as they progress: queued (waiting), running (actively working), and completed (finished). If you have a complex question, you might see the graph expand to two or three levels deep — the planner creating subtasks that themselves spawn further investigation.
How long does it take?
Most projects complete in two to five minutes. Complex topics with deep research profiles might take longer. You do not need to watch the whole time — LumaVista runs in the background, and your project will be waiting for you when you come back.
Intervening if needed
As the research runs, you might see approval requests pop up. These are moments where the system asks for your input before expanding the research further. You can:
- Approve — Let the agents continue expanding into that subtopic.
- Reject — Tell the agents to skip that expansion and work with what they have.
- Batch manage — If several requests pile up, handle them in groups rather than one by one.
For your first project, approving everything is fine. Once you are more familiar with how agents work, you can be more selective. See Guiding Your Research: Human-in-the-Loop for details on when and why to intervene.
Step 4: Read your report
When all nodes in the graph complete, your report is ready. Switch to the report view to read it.
The report follows the section structure from your prompt. Each section synthesizes findings from multiple agent passes, with citations pointing back to the sources that informed each claim. The report is not a collection of copy-pasted search results — it is a written synthesis that connects findings across sources and draws out the important patterns.
What makes a good report
Reports are most useful when the initial prompt was specific. Compare:
- Vague: “Tell me about electric vehicles”
- Specific: “Compare the total cost of ownership for fleet operators switching from diesel to electric delivery vans in the EU market, covering purchase price, charging infrastructure, maintenance, and regulatory incentives as of 2026”
The guided prompt builder exists specifically to help you get from vague to specific without needing to be an expert prompt engineer.
Step 5: Ask follow-up questions
Your project includes a chat panel where you can interact with the research after it completes. Open it from the project view and ask questions like:
- “Can you expand on the section about regulatory incentives?”
- “What were the main sources for the maintenance cost comparison?”
- “Are there any contradictions between the sources you found?”
- “Rewrite the executive summary to be shorter and more direct.”
The chat understands the full context of your research — the original prompt, every search result, every reasoning step, and the final report. It is not starting from scratch; it is building on everything the agents already found.
For more on what you can do in the chat, see Chatting With Your Research.
What to try next
Now that you have completed your first project, here are some next steps:
- Try a different template. If your first project was academic, try a business or technical research question next. Each template structures the research differently.
- Adjust your profile. Go to Settings and try the Deep profile for a topic you want thoroughly investigated, or Quick for a straightforward factual question.
- Explore the graph. Click on individual nodes in the research graph to see exactly what each agent did — its input, its output, and how long it took.
Related docs
- The Guided Prompt Builder — Deep dive into templates, clarifying questions, and prompt refinement
- Understanding the Research Graph — How agents plan, search, and synthesize, and what the graph visualization shows you
- Navigating the Interface — Full tour of the dashboard, sidebar, and project views